

Ductile Iron Casting: A Few Recommended Options for Your Needs
2026-09-18
Choosing the right ductile iron casting can quickly become a maze of grades, treatments, and trade-offs. That's where a few smart recommendations help — from high-elongation ferritic grades to pearlitic options built for wear resistance. If you want a supplier that actually understands these choices, look no further than Zhaoyuqi. Their casting expertise takes the guesswork out of your next project.
Why Ductile Iron Isn't Just Tougher Gray Iron
Calling ductile iron a tougher version of gray iron misses what actually happens in the melt. Gray iron's graphite flakes act like internal cracks—sharp-edged and stress-raising. Ductile iron, by contrast, forms graphite as nearly spherical nodules after magnesium treatment. That shape shift isn't a minor tweak; it changes how load paths move through the metal. Instead of concentrating stress at the tips of flakes, the matrix stays more continuous, which is why ductile iron bends before it breaks while gray iron tends to snap.
The difference shows up in practical terms. A gray iron housing might handle compressive loads well but crack under tensile or impact stress. Ductile iron can take tension, absorb shock, and still machine reasonably well. Yield strengths often run double or triple those of standard gray iron grades, and elongation—usually under 3% for gray iron—can reach 10% or more. That's not just extra toughness; it's a different failure mode.
Still, calling it 'better' oversimplifies. Gray iron remains easier to cast into complex thin sections, damps vibration more effectively, and costs less. Ductile iron earns its place when a part needs steel-like strength with cast-iron castability. The two are related, but they're not on a simple spectrum.
Reading the Grade Numbers Like 60-40-18 and 65-45-12
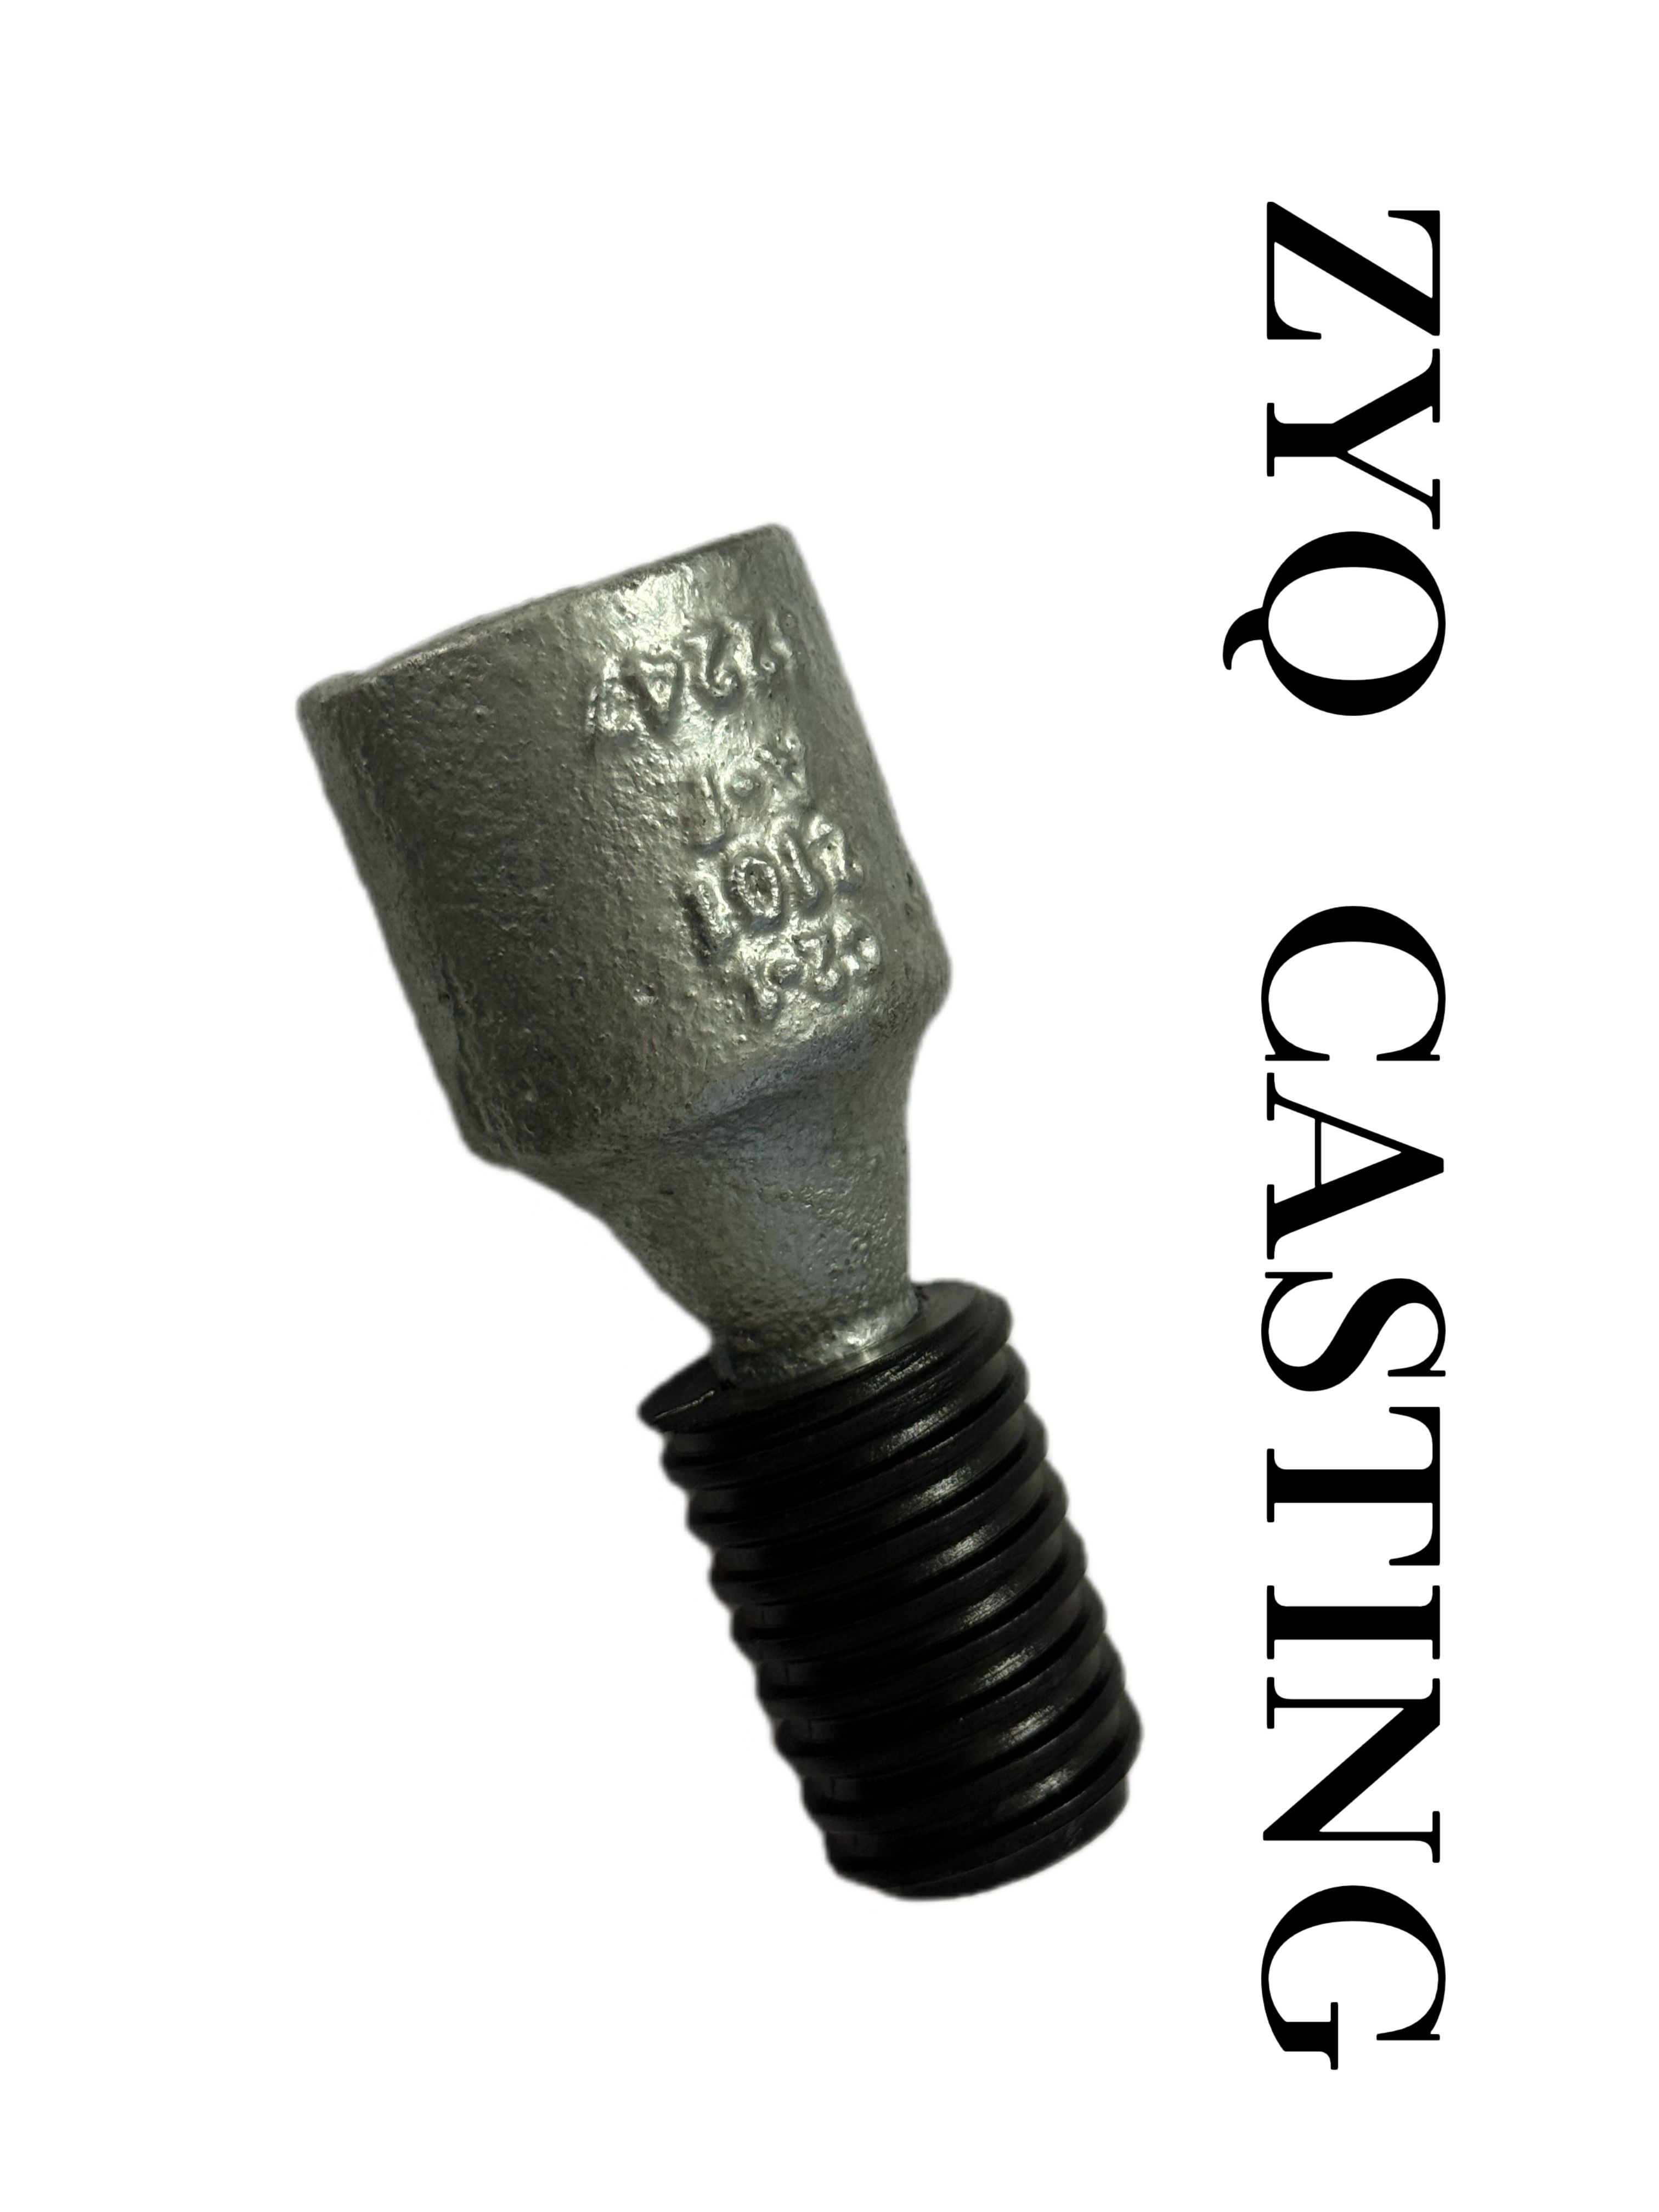
When a casting drawing calls out a material like 60-40-18 or 65-45-12, those three numbers aren't just a random label. Each one pins down a specific mechanical property in a fixed order. The first number is the minimum tensile strength in ksi, the second is the minimum yield strength in ksi, and the third is the minimum elongation percentage over a 2-inch gauge length. So a 60-40-18 ductile iron has at least 60 ksi tensile, 40 ksi yield, and 18% elongation before failure.
The gap between tensile and yield strength tells you how much the material can stretch before it permanently deforms. In 65-45-12, that gap is 20 ksi, which is smaller than the gap in 60-40-18 (also 20 ksi, actually the same ratio but lower absolute values). The third number is the one that catches many designers off guard. An 18% elongation means the iron can bend quite a bit before cracking, while 12% is noticeably less ductile. That difference can decide whether a bracket survives an overload or snaps on impact.
Choosing between these grades often comes down to how much strength you need versus how much forgiveness you want. 65-45-12 gives you more tensile and yield strength, but you sacrifice ductility. If the part will see shock loads or needs to absorb energy, the extra elongation in 60-40-18 can be worth more than the higher strength numbers. Reading the grade properly lets you match the alloy to the actual service conditions rather than just picking the highest first number.
Sand Casting or Lost Foam for Your Part Geometry
The geometry of your part often dictates which casting process will cause fewer headaches. Sand casting works well for designs with a clear parting line and external features that don't fight the mold. Once you introduce deep internal cavities, undercuts, or awkwardly placed bosses, sand casting starts demanding multiple cores, loose pieces, or extra draft angles. Lost foam removes many of those constraints because the foam pattern becomes the mold cavity directly. You can cast complex internal passages, blind holes, and organic shapes without worrying about how the pattern will pull away from the sand.
Thin walls and tight feature spacing also shift the balance. Sand casting struggles when sections drop below about 4 mm because the metal cools too quickly and the sand mold can erode or shift under the flow. Lost foam allows thinner walls down to roughly 2 mm, thanks to the insulating effect of the foam during fill. On the other hand, very thick sections in lost foam can trap decomposition gases, leading to porosity if the gating isn't tuned carefully. So if your part mixes a 2 mm rib with a 30 mm boss, lost foam may handle that contrast more gracefully than sand, provided you plan venting for the heavy section.
Another geometry factor is the amount of machining stock you're willing to leave. Lost foam typically produces a near-net shape with smoother as-cast surfaces on hidden faces, so features like internal threads or seal grooves can sometimes be cast directly. Sand casting often requires more stock on critical surfaces because the mold surface is rougher and dimensions shift slightly during pattern removal. If your part geometry includes long unsupported spans or sharp corners, sand casting's rigid mold can resist distortion better than the foam pattern, which may flex before the metal arrives. Matching these trade-offs to your specific geometry will narrow the choice faster than any general rule.
Wall Thickness, Fillets, and Draft Angles That Prevent Scrap
Getting wall thickness right is less about following a single magic number and more about matching it to the material's flow characteristics and the part's function. Too thin and the cavity won't fill completely before cooling; too thick and you invite sink marks, voids, and warping as the core cools slower than the skin. A practical starting point is to keep nominal walls between 40% and 60% of the adjacent thicker section, and always ramp changes gradually instead of stepping abruptly. For ribs and bosses, aim for about 50-70% of the main wall to avoid localized shrinkage without sacrificing stiffness.
Sharp internal corners are stress risers that also disrupt melt flow, creating dead zones where material stagnates and degrades. A fillet with a radius of at least 25-30% of the nominal wall thickness smooths the transition, reduces notch sensitivity, and helps the polymer fill tight features without hesitation. On the outside of bends, a matching radius prevents the material from thinning as it stretches around the corner. Don't just fillet for looks; think of it as a way to guide the melt front through the geometry like water through a well-designed channel.
Draft angles are not an afterthought for ejection—they are a design tool that directly affects scrap rates. Without enough draft, parts stick, ejector pins punch through, or the surface scuffs as the part drags along the cavity wall. A minimum of 0.5° per side works for shallow textures, but jump to 1-2° for medium textures and 3° or more for heavy grain or deep ribs. Always apply draft in the direction of mold opening, and prefer adding material rather than removing it from the nominal wall to keep shrinkage predictable. When these three features are balanced, the mold runs cleaner, cycles faster, and the scrap bin stays empty.
Heat Treatment Routes to Hit Your Hardness and Impact Targets
Finding a heat treatment route that hits both hardness and impact targets starts with recognizing that the as-quenched microstructure is only half the story. A given steel can reach 52 HRC through a fast oil quench or a slower salt quench, but the second path often leaves fewer microcracks and less retained austenite, which shows up later as higher impact energy at low temperatures. Matching quench severity to section size matters more than pushing for the fastest possible cooling.
Austempering is worth a close look when impact values keep falling short at hardness levels below about 55 HRC. The resulting bainite offers a better balance of strength and toughness than tempered martensite in many medium-carbon grades, and the reduced distortion helps keep residual stress from eating into impact results. For heavier sections where austempering cannot reach the needed cooling rate, martempering followed by a carefully mapped temper can close much of the gap.
Do not treat tempering as a single fixed step. Plot hardness and Charpy impact against tempering temperature for your specific melt, then stay clear of known embrittlement troughs, typically near 250–400°C for many alloy steels. When secondary hardening steels are involved, a double temper after the initial high-temperature temper can remove fresh martensite from the first cool-down, giving a more stable hardness and a measurable jump in impact values.
Vetting a Foundry Before You Approve the Quote
Skip the glossy brochure and ask for the foundry's most recent defect rate on a job similar to yours. A reputable shop won't hesitate to share internal quality reports, even if the numbers aren't perfect. If they dodge or give you a vague 'we rarely have issues,' treat that as a red flag—every casting process produces scrap, and honesty about it is a better signal than a polished sales pitch.
Next, look at how they handle change requests before money changes hands. Send a small revision to a dimension or finish and time their response. Foundries that are overloaded or poorly managed will stall, while a well-run operation will clarify feasibility and cost impact within a day or two. This test reveals far more than any capability statement about their equipment list.
Finally, call one or two of their past clients who aren't listed as references. You can often find them through industry forums or LinkedIn. Ask bluntly about on-time delivery, dimensional accuracy, and how the foundry behaved when something went wrong. The quote may look cheap, but a foundry that blames customers for its own pour defects will cost you far more in rework and delays than you'll ever save on the invoice.
FAQ
Ductile iron's graphite forms as nodules instead of flakes, which gives it much higher tensile strength and elongation. You get a material that bends before it breaks, so it can handle shock loads and fatigue far better than gray iron. That's why suspension parts and gear housings often switch to ductile iron when failures start showing up.
If impact resistance is a priority, look at grades like 60-40-18 or 65-45-12. The last number is elongation, and higher elongation means the part can absorb more energy before cracking. For something like a hitch bracket or a hydraulic cylinder mount, I'd lean toward 60-40-18 even if it means a slight reduction in yield strength.
Yes. Green sand casting is common and cost-effective for medium to large runs, but shell molding gives you a smoother surface and tighter tolerances if your part has complex geometry. For very high dimensional accuracy, consider investment casting or lost foam, though those come with higher tooling or pattern costs.
It depends on the service conditions. As-cast ductile iron usually has a ferritic or pearlitic matrix depending on cooling rate, but heat treatment like annealing or austempering lets you dial in the exact combination of strength and ductility. If your part sees abrasive wear, an austempered ductile iron (ADI) can outperform some steels while keeping the casting advantages.
Ask about their gating and risering practices. A good foundry will use computer simulation to predict shrinkage and design the mold so that the last metal to solidify is in the risers, not the casting. Also check if they perform ultrasonic testing or at least section a sample from each batch. Consistent nodule count and nodularity above 80% is a good sign.
Often yes, especially if the part is complex and would require multiple steel fabrications or machining steps. Ductile iron can be cast near-net-shape, which eliminates weld joints and reduces assembly time. Just keep in mind that ductile iron's modulus is slightly lower than steel, so you may need to increase section thickness if stiffness is the limiting factor.
Pattern tooling is usually the biggest upfront cost, especially for low volumes. After that, the casting yield, number of cores, and required heat treatment drive the price. Designing for uniform wall thickness and avoiding isolated heavy sections can reduce scrap and lower the per-part cost significantly. Get the foundry involved early—small design tweaks can save 15-20% sometimes.
Conclusion
Ductile iron earns its place not by simply being a stronger version of gray iron but because its spheroidal graphite structure changes how the metal responds to stress. Those nodules resist crack propagation, allowing tensile strengths and elongations that flake graphite cannot match. The grade numbers spell out the mechanical targets directly: a 60-40-18 material promises 60 ksi tensile, 40 ksi yield, and 18% elongation, while 65-45-12 trades some ductility for higher strength. Selecting the right grade comes down to how much bending, impact, or fatigue your component will see. For production route, sand casting remains the workhorse for complex cores and larger runs, while lost foam offers tighter dimensional control and near-net shapes but demands more upfront tooling investment. Matching the method to your part geometry avoids unnecessary machining and cost.
Good casting design prevents most scrap before metal is poured. Keep wall sections uniform to avoid shrinkage tears, use generous fillets at intersections, and include enough draft angle for clean pattern release. Heat treatment then fine-tunes performance: annealing softens the matrix for easier machining and maximum ductility, normalizing raises strength and hardness, and austempering creates ADI with exceptional wear resistance. Before approving any quote, vet the foundry beyond price. Ask to see their metallurgical lab, how they track melt chemistry, and examples of similar ductile iron parts they have shipped. A foundry that understands your grade requirements and can document process control is more valuable than a lower cost with inconsistent results.
Contact Us
Contact Person: Nico Yin
Email: [email protected]
Tel/WhatsApp: 8618561567088
Website: https://www.ductileironparts.com/